WebUI
在 WebUI 中,主要有四种方式调用 Agent:
使用 托管版 WebUI(推荐,无需安装)
在 Python 中直接启动 Agent 并启用 WebUI
直接使用
npx启动本地安装并启动开发环境
在开始之前,我们假设你已经部署好了 Agent。
例如,如果部署在 localhost:8090,WebUI 会通过 process 端点调用它,因此完整请求 URL 为: http://localhost:8090/process
本指南还需要 Node.js 环境以及 npm 或 npx(仅方法 2/3/4 需要)。请确保它们已正确安装。
方法 1(推荐):使用托管 WebUI(无需安装)
如果你不想在本地安装或运行 WebUI,推荐直接使用托管 WebUI:
http://webui.runtime.agentscope.io/
在浏览器中打开页面,并将 Agent 端点设置为你已部署的 process URL,例如:
http://localhost:8090/process
方法 2:在 Python 中直接启动 Agent 并启用 WebUI
这种方式适合在 Python 环境中直接运行 Agent,并启用内置 WebUI。你只需要确保 Agent 所需的环境和 API Key 已正确配置。
from agentscope_runtime.engine import AgentApp

agent_app = AgentApp(
    app_name="Friday",
    app_description="A helpful assistant",
)
# 此处省略 Agent 构建逻辑

# 启动服务并同时启用 WebUI
agent_app.run(host="127.0.0.1", port=8090, web_ui=True)
方法 3:通过 npx 快速启动
如果你只是想快速体验或不需要修改代码,可以直接在终端运行以下命令:
npx @agentscope-ai/chat agentscope-runtime-webui --url http://localhost:8090/process
注意:请确保该 URL 与你的 Agent 部署地址一致。
执行后,前端服务将启动在:
http://localhost:5173
在浏览器中打开 http://localhost:5173 ,即可进入 WebUI,通过聊天界面与 Agent 交互。
方法 4:本地安装与启动(用于开发与自定义)
如果您计划深入开发或想详细了解 WebUI 细节,可以在 AgentScope-Runtime 的 web/starter_webui 目录下启动本地环境:
# 进入 WebUI 启动目录
cd web/starter_webui

# 安装依赖
npm install

# 启动开发服务
npm run dev
服务会启动在:
http://localhost:5173
浏览器访问该地址,即可打开 WebUI,并与 Agent进行对话。
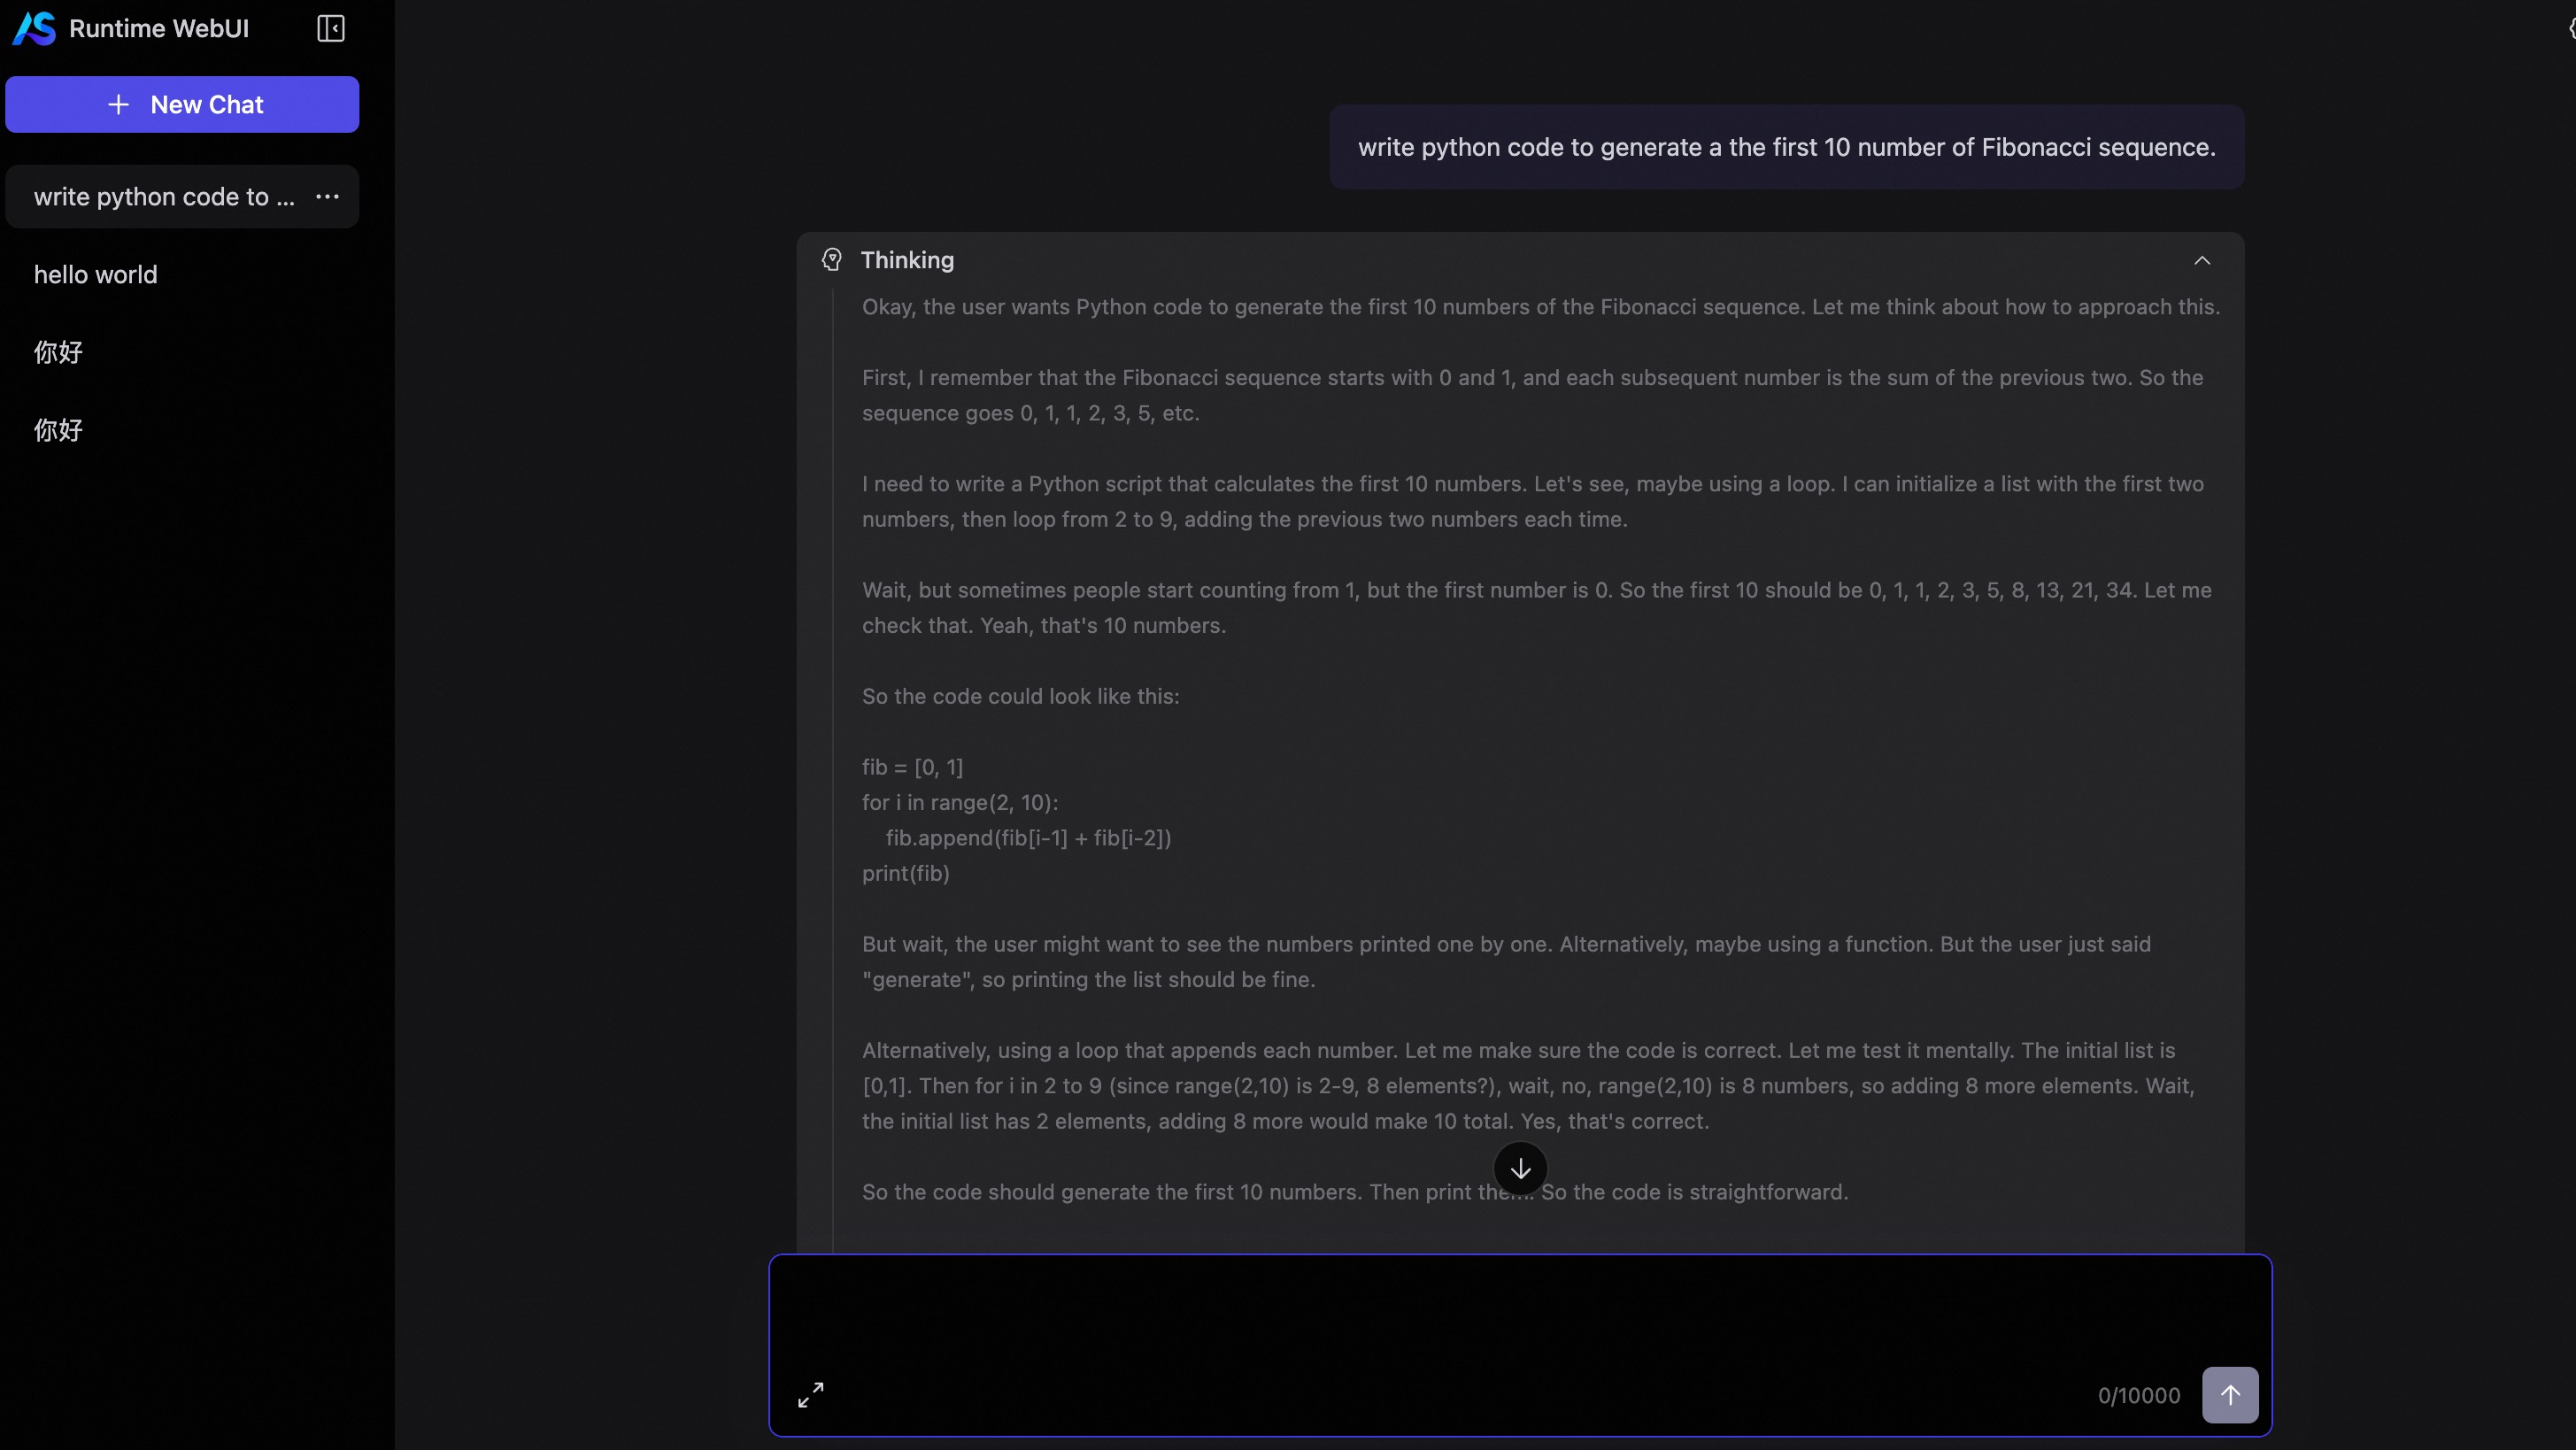
页面预览
在 WebUI 中,您可以通过可视化界面与 Agent 交互,并调用工具:
首页

对话页面
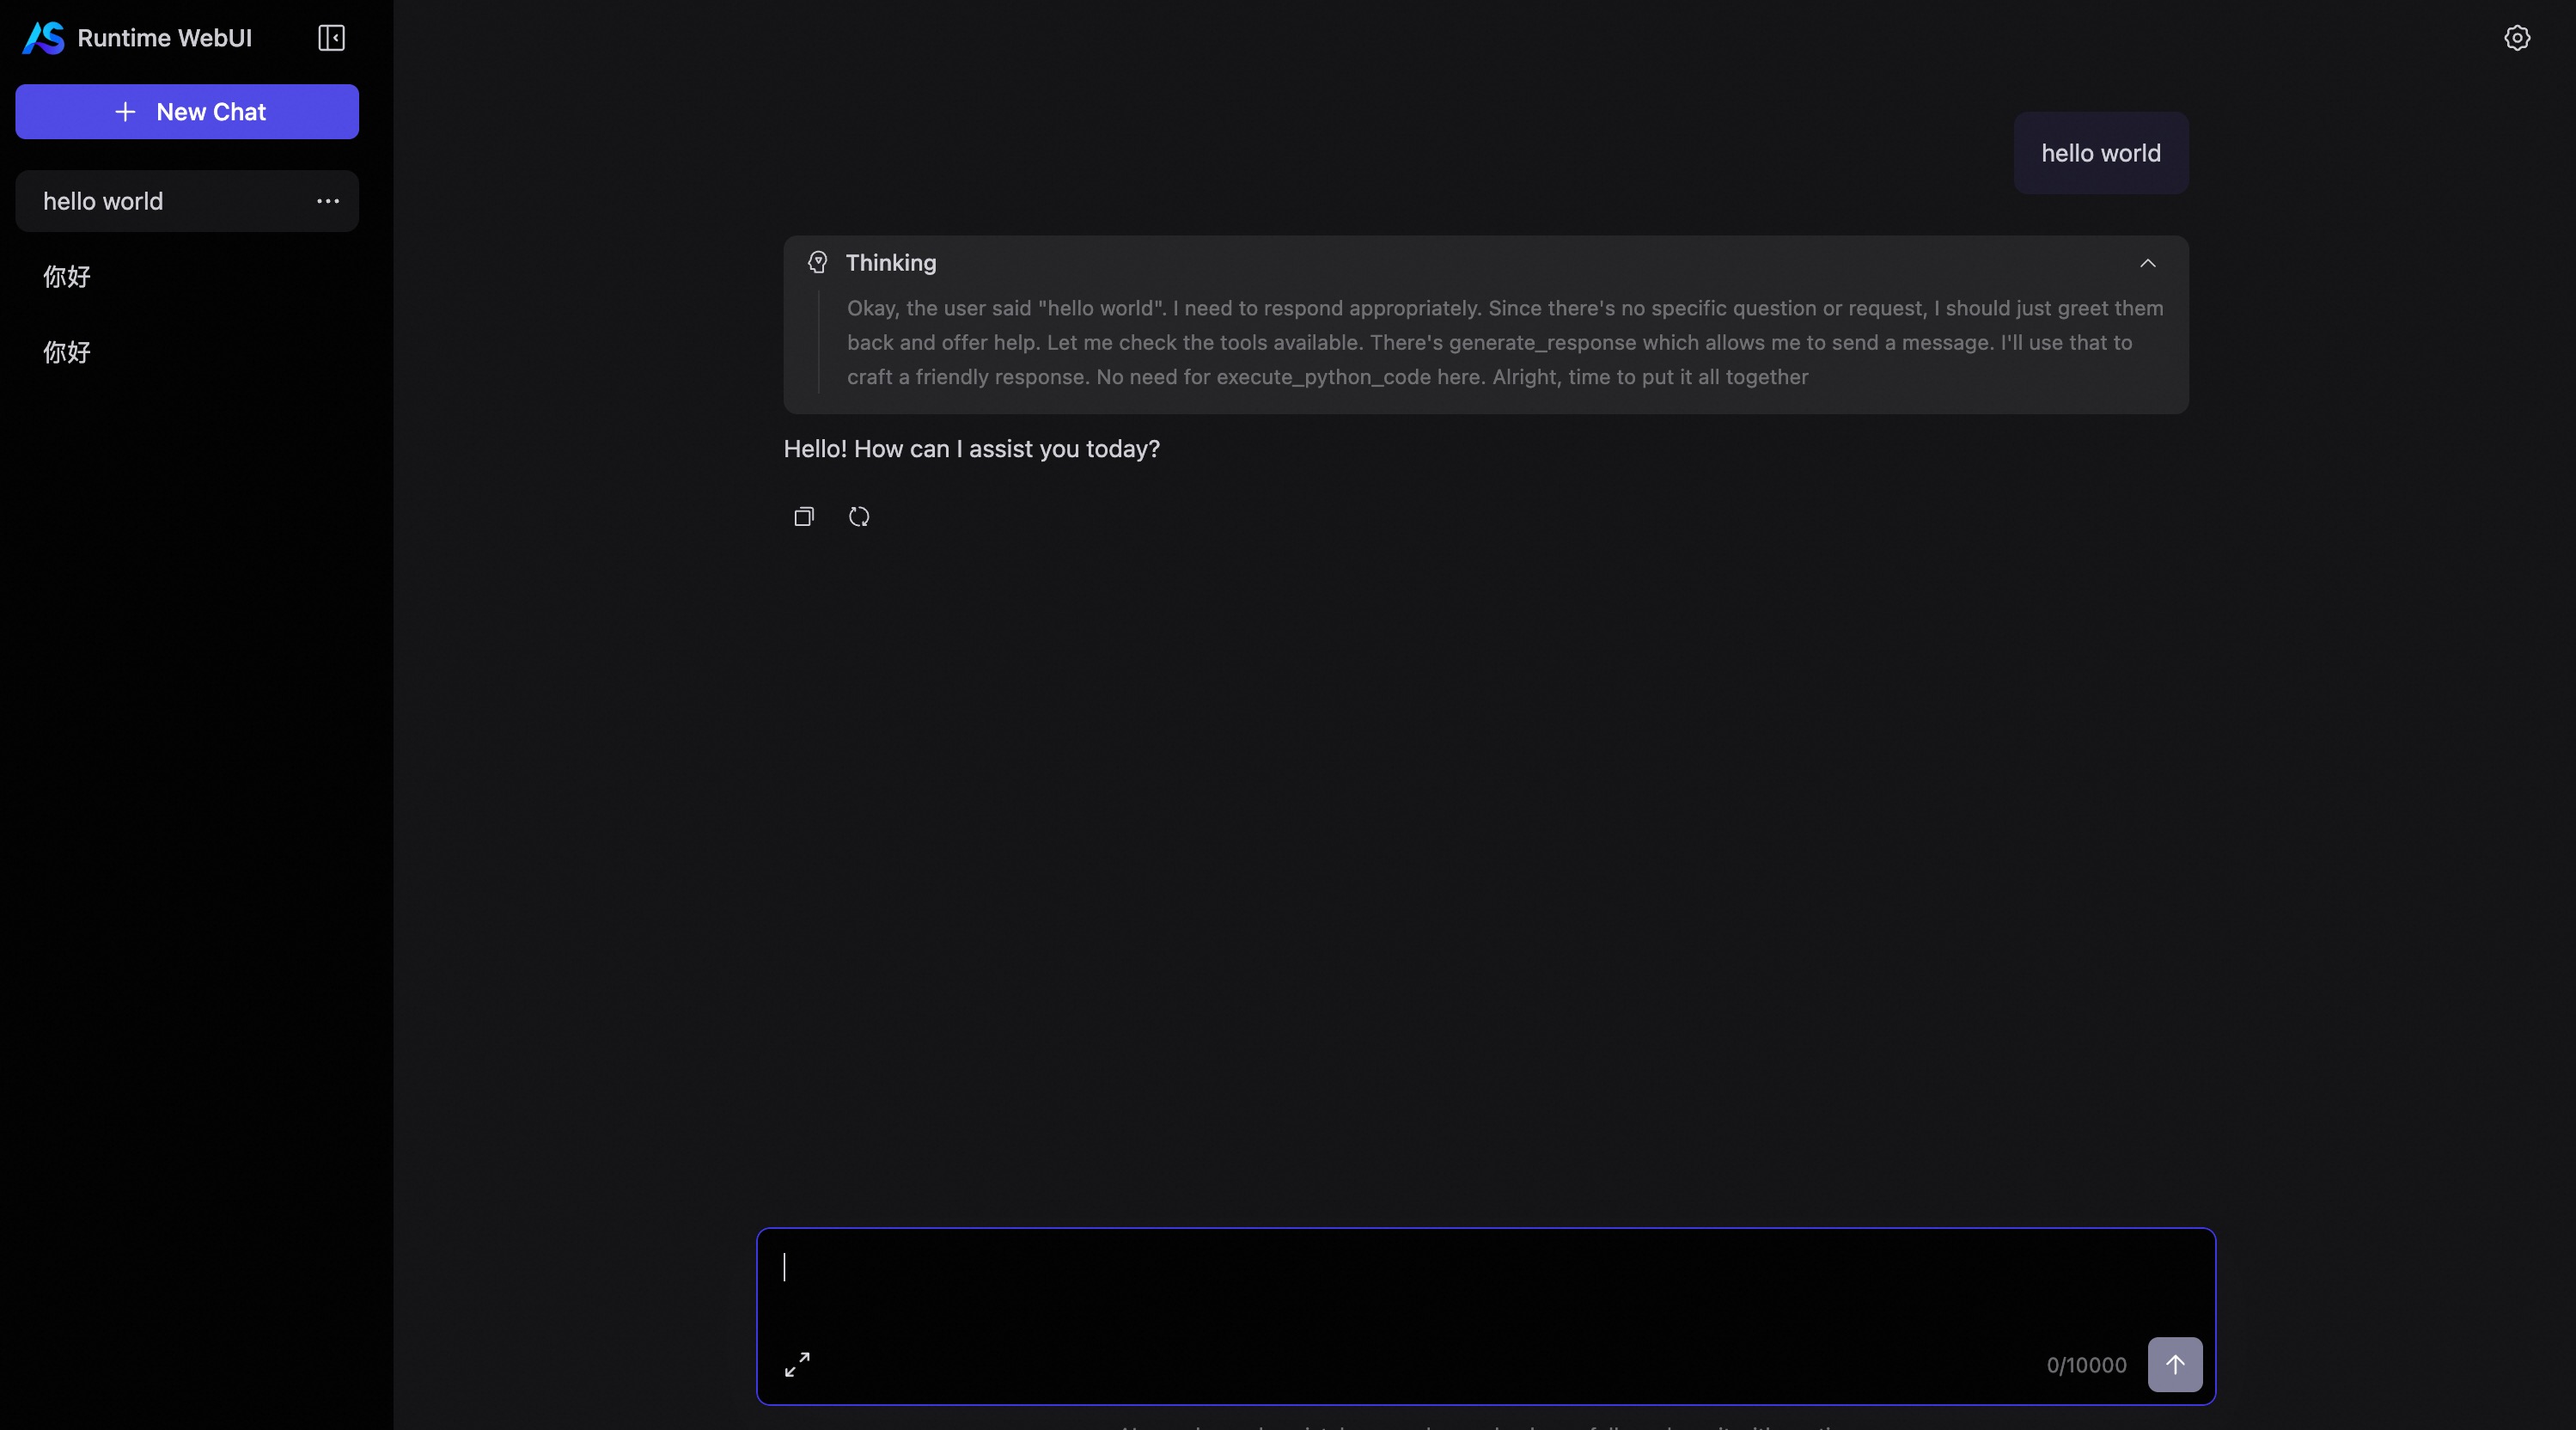
智能体思考
工具输出结果
